
Move to Specifi ribbon and click the button “Walls 2D/3D” in Architectural section.

Make sure to have set:
- Red arrow: Right (Specifi will use it as reference for internal side of the wall)
- Width: 300 mm
- Height: 3000 mm
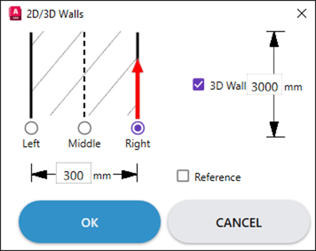
Click "OK" button to confirm.
Make sure "ORTHO" mode is activated. If necessary, press F8 key to enable it: this will allow you to work with orthogonal angles.
You have to specify the starting point of the wall. Then choose a point at the bottom left and click with the left mouse button: you have just defined the starting point.
Please, remember that the line you’re drawing, corresponds to the internal side of your wall.
Move the mouse upwards (make sure the "ORTHO" option is still activated) to define the direction of the wall. And type the length of your wall, keeping in mind that you are drawing the internal side.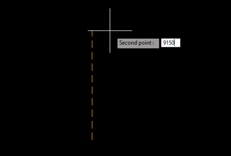
- Length: 9150 mm (type 9150)
Press ENTER to confirm the length just inserted.
Go on with the design of the next side of your wall, moving the mouse to the right to define the direction. Then type the length of the second segment: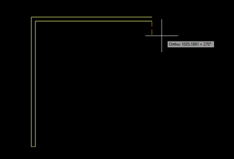
- Length: 8500 mm (type 8500)
Press ENTER to confirm the length just inserted.
Move the mouse down to define the direction. Then enter the length of the third segment: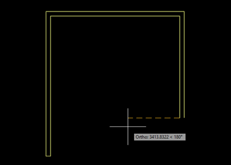
- Length: 6650 mm (type 6650)
Press ENTER to confirm the length just inserted.
Move the mouse to the left to define the direction. Then enter the length of the fourth segment: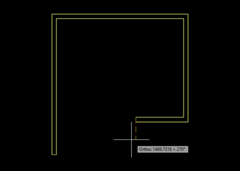
- Length: 3200 mm (type 3200)
Press ENTER to confirm the length just inserted.
Move the mouse down to define the direction. Then enter the length of the fifth section: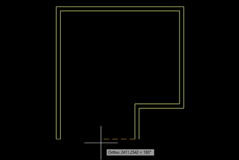
- Length: 2500 mm (type 2500)
Press ENTER from the keyboard to confirm the length just inserted.
In order to draw the last side of the wall, type “C” from the keyboard to activate the option “Close” and press ENTER. "Close" will automatically create the last piece of wall, closing the room. The result will be as shown below.
Note: When inserting walls,it is recommended to never interrupt the command by pressing the "ESC" key on your keyboard. In case you need to finish a section of wall, without using the "Close", use the ENTER key on the keyboard.
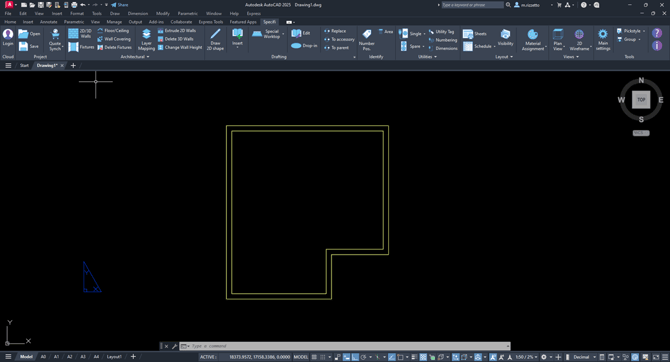
In order to see the drawing in 3D as well, change the view from the plan to isometric.

To do this, use the “Views” dropdown menu in Specifi ribbon.
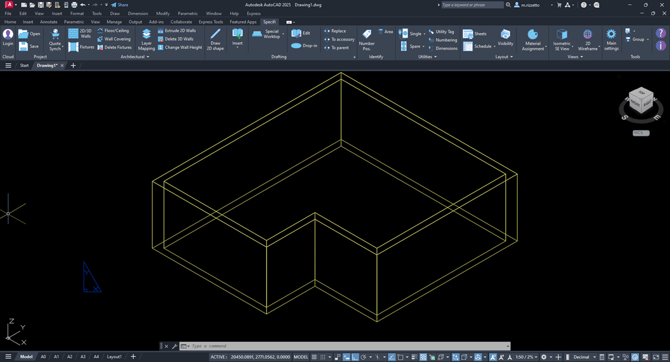
Come back to plan view to design the remaining walls.
Now run again the "2D/3D WALLS" command from Specifi ribbon.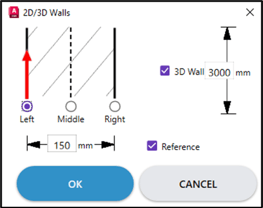
Make sure to have set:
- Red arrow: Left
- Length: 150 mm
- Height: 3000 mm
- Reference: Checked
Then, confirm the settings by clicking ‘OK’ button.
The ‘Reference’ option is used to insert a wall at a precise distance from a known point (for example from a corner of a room).
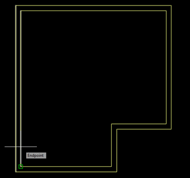 Move the mouse pointer towards the lower left until the END OSNAP symbol appears at the inner wall designed previously, then click the left mouse button to confirm the reference point.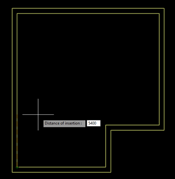
Move the mouse upwards to define the direction. Type, therefore, the distance from the reference point in order to draw the wall:
- Distance: 5540 mm
Press ENTER from the keyboard to confirm the distance.
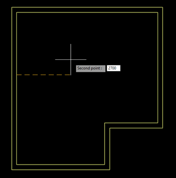 Move the mouse to the right to define the direction and type the length: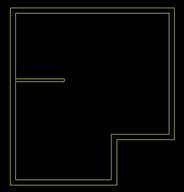
- Length: 2700 mm
Press ENTER from the keyboard to confirm the length just inserted. And ENTER again to end the command.
Note: If the OSNAP is enabled and preset sometimes the desired OSNAP symbol does not appear.
Change the settings of OSNAP setting to have only the symbols really necessary.
Repeat the same operation for the second internal wall.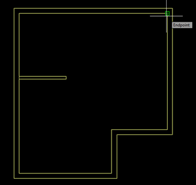
Run again "2D/3D WALLS".
Make sure to have set:
- Red arrow: Right (please note the reference is changed)
- Length: 150 mm
- Height: 3000 mm
- Reference: Checked
Then, confirm the settings by clicking ‘OK’
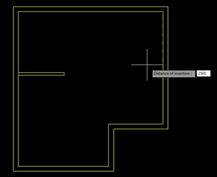 Move the mouse pointer towards the upper right until the END OSNAP symbol appears at the inner wall designed previously, then click the left mouse button to confirm the reference point.
Move the mouse down to define the direction. Type, therefore, the distance from the reference point in order to draw the wall:
- Distance: 2500 mm
Press ENTER from the keyboard to confirm the distance
Move the mouse to the left to define the direction. Then enter the length of the section: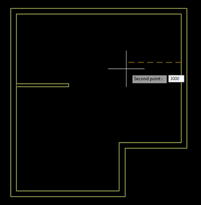
- Length: 3000 mm
Press ENTER from the keyboard to confirm the length just inserted. And ENTER again to end the command.
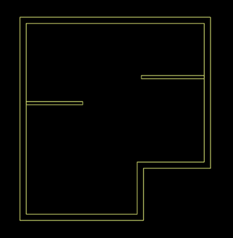
To see the drawing even in 3D, change the view by moving from plan view to an isometric view. To do this, use the Views dropdown menu in Specifi ribbon.
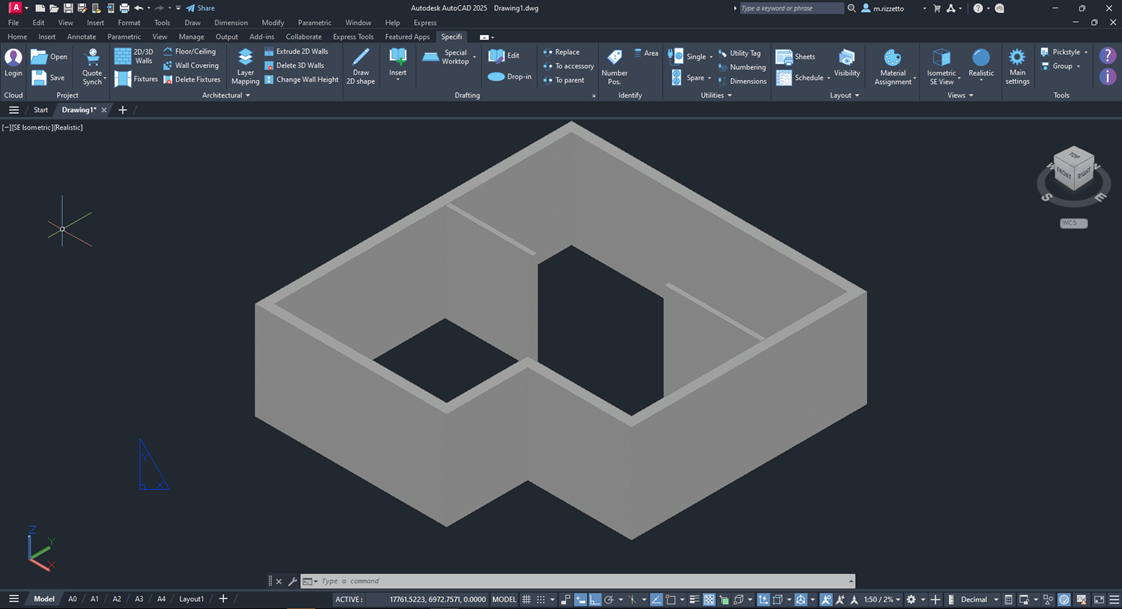
Then apply a drop shadow by choosing "Realistic" from dropdown menu in Views section of Specifi ribbon.
