
- Download the installation file using the link received by email.
- Run the file Specifi_Plugin.msi, just downloaded.
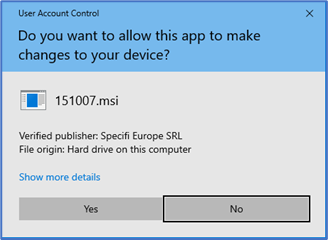
- If Windows User Account Control is active the following message appears. Click Yes button to confirm.
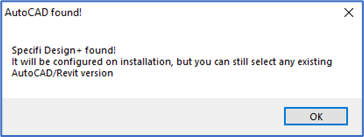
- If Specifi Design+ CAD engine is installed, a message box appears to inform the user Specifi Design Plugin will be configured for that CAD engine. Click OK Button.
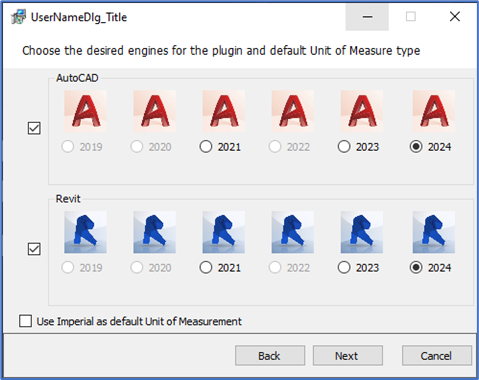
- If AutoCAD and Revit compatible versions have been already installed, select the available versions you want to configure Specifi Design Plugin with. Check the “Use Imperial as default settings” option if you want to set it as default configuration (otherwise it will be configured for Metric system). Then click Next.
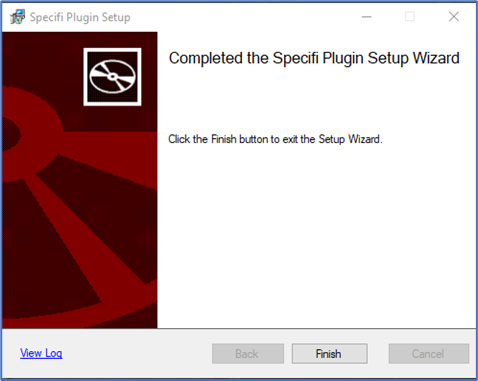
- Once installed, click finish button to end the installation process.
- The new icon “SP Cloud Design AutoCAD XXXX” will be added on the desktop, from where you can launch AutoCAD with Specifi Design profile.

- For Revit instead you can run it directly and you will find Specifi tab added to Revit ribbon.

Specifi Design Plugin first execution
- Double click on the “SP Cloud Design AutoCAD XXXX” icon on the desktop. Or double click on Revit icon.


- The new Specifi ribbon has been added to your AutoCAD and Revit. Click on it to see the Specifi commands.
- Click Login button on left side of the ribbon (1st button from left)

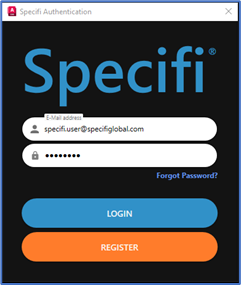
- Fill the form inserting your Specifi credentials, already received by email when registered. And click LOGIN button.
You can start working with Specifi commands. - Clicking Insert command of Specifi, it may require to download and install the following Microsoft .NET component:
https://download.visualstudio.microsoft.com/download/pr/14ccbee3-e812-4068-af47-1631444310d1/3b8da657b99d28f1ae754294c9a8f426/dotnet-sdk-5.0.408-win-x64.exe
Please download and install it, and then run again Insert command.
Please refer to the Specifi Design User guide to learn how to use the software.